Exchange Integration with Stargate
This guide explains how to configure Microsoft Exchange (Online and On-Premises) to route mail through the Stargate gateway for S/MIME signing and encryption.
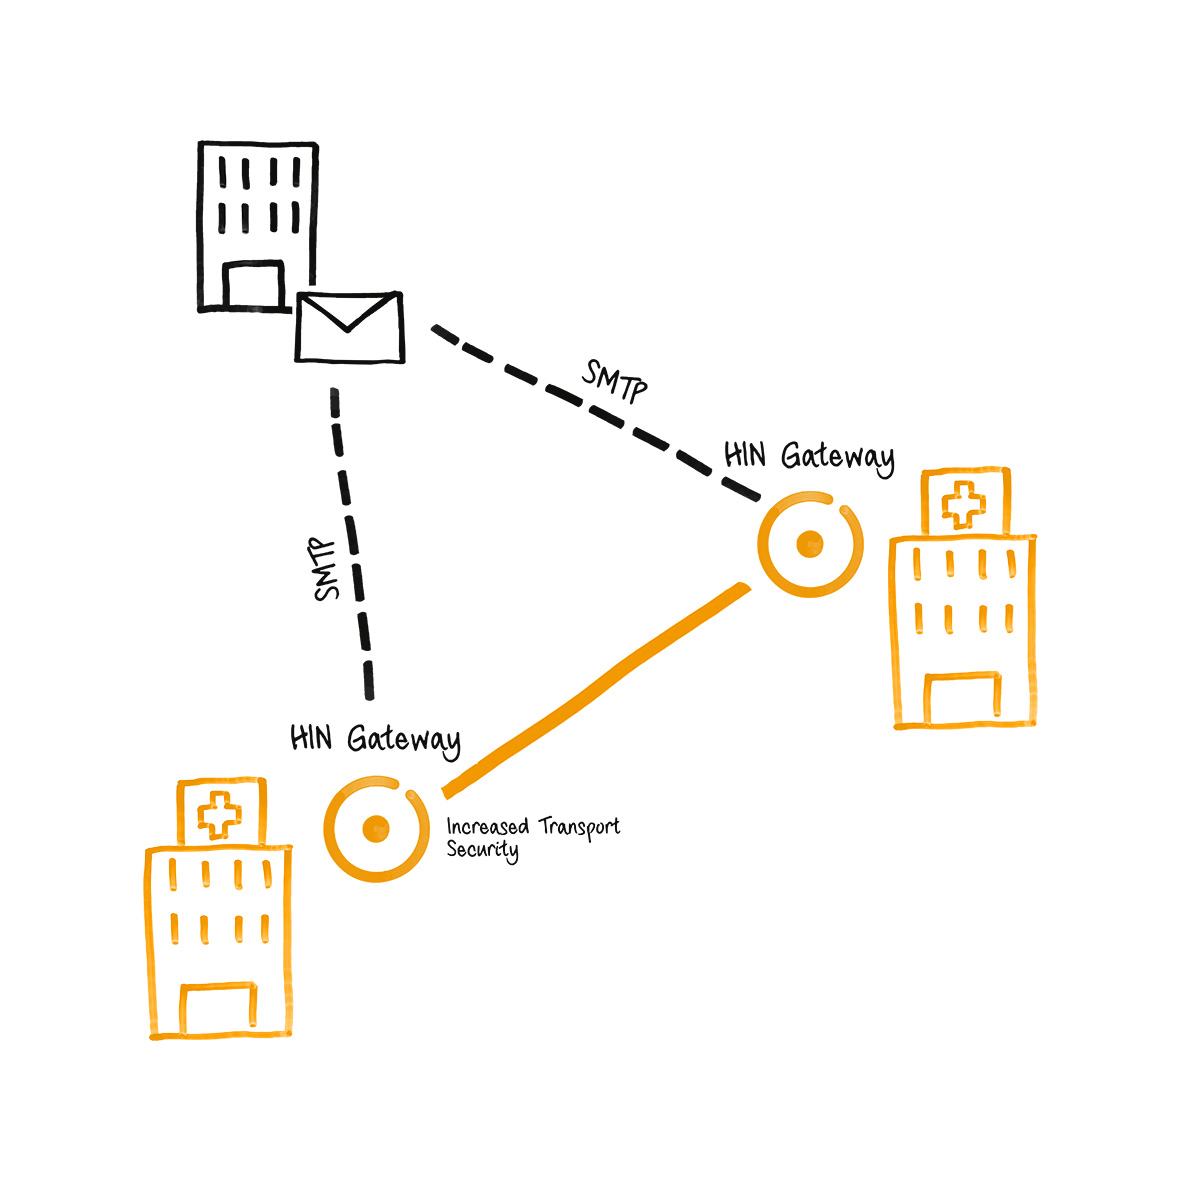


Overview
Stargate acts as a mail relay between external mail servers and your Exchange environment. Two integration patterns are supported:
Pattern A - Exchange Online as primary MX with transport rules:
flowchart LR
    I1 --> EO --> TR --> C --> S1 --> EO
    E2 --> TR2 --> OC --> S2 --> I2
    I1["Internet"]
    I2["Internet"]
    EO["Exchange Online"]
    E2["Exchange Online"]
    TR["Transport Rule"]
    TR2["Transport Rule"]
    OC["Outbound Connector"]
    C["Connector"]
    S1["Stargate"]
    S2["Stargate"]
Pattern B - Stargate as primary MX:
flowchart LR
    I1 --> mx15 --> mx20
    EO --> TR --> OC --> Stargate --> I2
    I1["Internet"]
    I2["Internet"]
    mx15["Stargate (MX priority 15)"]
    mx20["Exchange Online (MX priority 20)"]
    EO["Exchange Online"]
    TR["Transport Rule"]
    OC["Outbound Connector"]
    Stargate
In both patterns, you need:
- DNS records pointing to the Stargate server
- Outbound connector - routes mail from Exchange to Stargate
- Inbound connector - accepts mail from Stargate into Exchange
- Transport rule - triggers the outbound connector for external recipients
Prerequisites
Before configuring Exchange, ensure:
- Stargate is installed and running (deployment instructions)
- You have the Stargate server's public IP address (referred to as
<STARGATE_IP>below) - You have the mail hostname of the Stargate server (referred to as
<MAIL_HOSTNAME>, e.g.mail.example.com) - You know your mail domain (referred to as
<YOUR_DOMAIN>, e.g.example.com) - You have Exchange admin access (Exchange Admin Center or on-premises Exchange Management Shell)
- DNS records are configured per the DNS Setup Guide (A, MX, SPF at minimum)
Part 1: DNS Setup
See the DNS Setup Guide for complete instructions on configuring A, MX, SPF, PTR, DMARC, and DKIM records.
At minimum, before proceeding with the Exchange configuration below, you need:
- A record:
<MAIL_HOSTNAME>pointing to<STARGATE_IP> - MX record:
<YOUR_DOMAIN>with Stargate at higher priority (lower number) than Exchange - SPF record:
ip4:<STARGATE_IP>andip4:<HIN_SEALER_IP>added to your domain's TXT record (see DNS Setup Guide - SPF for sealer IPs)
Part 2: Exchange Online Configuration
Step A: Create the Outbound Connector (Office 365 → Stargate)
This connector routes outbound mail from Exchange Online to the Stargate relay server.
-
Navigate to the Exchange Admin Center - Connectors
-
Click "+ Add a connector"
-
Connection from: Select "Office 365"
- Connection to: Select "Your organization's email server"
-
Click "Next"
-
Connector name: Enter a descriptive name, e.g.:
- Check "Retain internal Exchange email headers"
-
Click "Next"
-
Use of connector: Select "Only when I have a transport rule set up that redirects messages to this connector"
- Click "Next"
Tip
This is important - the connector won't route any mail by itself. It will only be used when triggered by the transport rule created in Step C.
- Routing: Select "Route email through these smart hosts"
- Enter the Stargate server IP address:
<STARGATE_IP> -
Click "+" to add it, then click "Next"
-
Security restrictions: Select "Any digital certificate, including self-signed certificates"
- Click "Next"
Note
Stargate's MTA (Stalwart) accepts opportunistic TLS on inbound connections. Selecting "any digital certificate" ensures connectivity even with self-signed certificates.
- Validation email: Enter a valid email address for your domain (e.g.
user@<YOUR_DOMAIN>) - Click "+", then click "Validate"
- Wait for validation to complete, then click "Next"
Tip
For validation to succeed, the Stargate server must be running and accepting mail on port 25.
-
Review the settings and click "Create connector"
-
On the confirmation screen, click "Done"
Step B: Create the Inbound Connector (Stargate → Office 365)
This connector accepts mail from the Stargate relay server into Exchange Online.
-
From the Connectors page, click "+ Add a connector"
-
Connection from: Select "Your organization's email server"
- Connection to: Shows "Office 365" (automatic)
-
Click "Next"
-
Connector name: Enter a descriptive name, e.g.:
- Check "Retain internal Exchange email headers"
-
Click "Next"
-
Authenticating sent email: Select "By verifying that the IP address of the sending server matches one of the following IP addresses that belong exclusively to your organization"
- Enter the Stargate server IP address:
<STARGATE_IP> - Click "+" to add it, then click "Next"
Note
This tells Exchange Online to trust mail from this specific IP address, bypassing additional spam/authentication checks for mail that has already been processed by Stargate.
-
Review the settings and click "Create connector"
-
Click "Done"
Verify Connectors
After creating both connectors, the Connectors page should show:
| Status | Name | From | To |
|---|---|---|---|
| On | Receive mail from Stargate relay server | Your org | O365 |
| On | From Office 365 to Stargate relay server | O365 | Your org |
Step C: Create the Transport Rule
The transport rule redirects all outbound mail through the Stargate outbound connector, except mail originating from Stargate itself (to prevent mail loops).
-
Navigate to Exchange Admin Center - Rules
-
Click "+ Add a rule" → "Create a new rule"
-
Rule name: Enter a descriptive name, e.g.:
- Apply this rule if: Select "The recipient..." → "is external/internal" → "Outside the organization"
- Click "Save"
Note
This condition ensures only outbound mail (to external recipients) is redirected through Stargate.
- Do the following: Select "Redirect the message to..." → "the following connector" → select the outbound connector created in Step A (e.g. "From Office 365 to Stargate relay server")
-
Click "Save"
-
Except if: Click "+" to add an exception
- Select "The sender..." → "IP address is in any of these ranges"
- Enter the Stargate server IP address:
<STARGATE_IP> - Click "Add", verify the IP is listed, then click "Save"
Warning
This exception is critical - it prevents mail loops. Without it, mail from Stargate arriving at Exchange Online would be redirected back to Stargate in an infinite loop.
- Review the rule summary. It should show:
- Apply this rule if: The recipient is located Outside the organization
- Do the following: Redirect the message to the connector "From Office 365 to Stargate relay server"
-
Except if: The sender IP address is in one of these ranges:
<STARGATE_IP> -
Click "Next", then "Next" again, then "Finish", then "Done"
-
Enable the rule: The rule is created in a disabled state. Click on the rule in the list and toggle "Enable or disable rule" to "Enabled"
Tip
Do not forget to enable the rule - it will not work until enabled.
Part 3: On-Premises Exchange Server Configuration
For on-premises Exchange Server (2016, 2019), the setup is similar but configured through the Exchange Management Console (EAC) or Exchange Management Shell (PowerShell).
Send Connector (On-Premises → Stargate)
Create a Send connector to route outbound mail through Stargate:
Exchange Management Shell (PowerShell):
New-SendConnector -Name "To Stargate Relay" `
  -AddressSpaces "SMTP:*;1" `
  -SmartHosts "<STARGATE_IP>" `
  -SmartHostAuthMechanism None `
  -DNSRoutingEnabled $false `
  -SourceTransportServers "<YOUR_EXCHANGE_SERVER>"
Exchange Admin Center (GUI):
- Navigate to Mail flow → Send connectors
- Click + to create a new connector
- Name: "To Stargate Relay"
- Type: Select "Internet"
- Network settings: Select "Route mail through smart hosts", add
<STARGATE_IP> - Smart host authentication: Select "None"
- Address space: Add
*(all domains) or specific external domains - Source server: Select your Exchange transport server(s)
Receive Connector (Stargate → On-Premises)
Create or modify a Receive connector to accept mail from Stargate:
Exchange Management Shell (PowerShell):
New-ReceiveConnector -Name "From Stargate Relay" `
  -Bindings "0.0.0.0:25" `
  -RemoteIPRanges "<STARGATE_IP>" `
  -TransportRole FrontendTransport `
  -Usage Custom `
  -AuthMechanism ExternalAuthoritative `
  -PermissionGroups ExchangeServers
Exchange Admin Center (GUI):
- Navigate to Mail flow → Receive connectors
- Click + to create a new connector
- Name: "From Stargate Relay"
- Type: Select "Frontend Transport"
- Network adapter bindings: Leave default or bind to specific IP
- Remote network settings: Remove the default
0.0.0.0-255.255.255.255and add only<STARGATE_IP> - Authentication: Check "Externally Secured"
- Permission groups: Check "Exchange servers"
Transport Rule (On-Premises)
Create a transport rule to redirect outbound mail through the Send connector:
Exchange Management Shell (PowerShell):
New-TransportRule -Name "Relay outbound via Stargate" `
  -SentToScope NotInOrganization `
  -RouteMessageOutboundConnector "To Stargate Relay" `
  -ExceptIfSenderIpRanges "<STARGATE_IP>"
Exchange Admin Center (GUI):
- Navigate to Mail flow → Rules
- Click + → "Create a new rule"
- Name: "Relay outbound via Stargate"
- Apply this rule if: "The recipient is located..." → "Outside the organization"
- Do the following: "Redirect the message to..." → "the following connector" → "To Stargate Relay"
- Except if: "The sender IP address is in..." → add
<STARGATE_IP>
Part 4: Stargate-Side Configuration
Automatic Configuration (Default)
By default, Stalwart automatically discovers where to deliver processed mail by looking up MX records for each domain configured via the dashboard's /mail page. It filters out its own hostname and uses the remaining MX entries as delivery targets.
This works when:
- Your domain has MX records pointing to both Stargate and Exchange
- Stargate has a higher-priority (lower number) MX record than Exchange
Manual Override via the dashboard
If you want all outbound mail from Stargate to go to a single Exchange endpoint (e.g. Exchange Online Protection), set the relay host through the dashboard's /mail page (e.g. [smtp.office365.com]). The dashboard sends the value to mtaconf's REST API and the daemon applies it to Stalwart.
Note
A single relay host sends all mail through one server and does not support per-domain routing. For multiple domains routing through different Exchange servers, use the per-domain relay map on the same dashboard page (configures sender_dependent_relayhost_maps under the hood) - see Multi-Domain Setup below.
Multi-Domain Setup
For setups with multiple domains and different Exchange servers (e.g. BALZ Informatik AG with 26 domains), use MX records for per-domain routing:
domain1.com    MX 10  exchange1.domain1.com
domain1.com    MX 20  stargate.domain1.com

domain2.com    MX 10  exchange2.domain2.com
domain2.com    MX 20  stargate.domain2.com
Each domain's MX records tell Stargate where to deliver processed mail for that specific domain.
Verify Stargate Configuration
After setup, verify the Stalwart configuration:
Check relay configuration
Check mail queue (should be empty when everything is working)
Send a test email and check logs
Troubleshooting
Mail not leaving Exchange Online
- Verify the transport rule is enabled (it is created in a disabled state)
- Check the rule conditions - it should apply to recipients "Outside the organization"
- Verify the outbound connector validation passed
- Check Exchange message trace in the Admin Center for delivery status
Mail loops (duplicate messages)
- Ensure the transport rule has the exception for the Stargate IP address
- Without this exception, mail from Stargate arriving at Exchange gets redirected back to Stargate
Stargate not accepting mail from Exchange
- Check port 25 is open on the Stargate server's firewall
- Verify SPF record includes the Stargate IP
- Check Stalwart logs:
docker logs stargate-stalwart
Exchange Online rejecting mail from Stargate
- Verify the inbound connector is configured with the correct Stargate IP
- Check that the Stargate IP hasn't changed
- Verify the connector is enabled (Status: On)
TLS Certificate Errors
Stargate uses opportunistic TLS with a self-signed certificate. The outbound connector in Exchange should be configured to accept "Any digital certificate, including self-signed certificates". If you see TLS-related errors:
- Verify the outbound connector security setting allows self-signed certificates
- For on-premises Exchange, ensure the Send connector does not require TLS (
-RequireTLS $false)
Validation fails during connector creation
The outbound connector validation requires:
- Stargate server is running and accepting connections on port 25
- The validation email address is valid for your domain
- Network path between Exchange Online and Stargate is open (no firewall blocking)
Quick Reference
| Component | Exchange Online Location | Purpose |
|---|---|---|
| Outbound Connector | Admin Center → Mail flow → Connectors | Route outbound mail to Stargate |
| Inbound Connector | Admin Center → Mail flow → Connectors | Accept mail from Stargate |
| Transport Rule | Admin Center → Mail flow → Rules | Trigger outbound connector for external recipients |
| DNS Record | Example | Purpose |
|---|---|---|
| A | mail IN A <STARGATE_IP> | Point hostname to Stargate |
| MX (Stargate) | @ IN MX 15 mail.<YOUR_DOMAIN>. | Inbound mail hits Stargate first |
| MX (Exchange) | @ IN MX 20 <DOMAIN>.mail.protection.outlook.com. | Fallback / delivery target |
| SPF | ip4:<STARGATE_IP> and ip4:<HIN_SEALER_IP> added to existing TXT record | Authorize Stargate and HIN sealer to send mail |
For the full DNS setup (including PTR, DMARC, DKIM, and multi-domain), see the DNS Setup Guide.